The ultimate Selectors Guide
CSS selectors.

I am Varun Gupta. I am proficient in HML, CSS and JavaScript. Checkout my portfolio at:
https://varun-gupta.netlify.app/
What are CSS selectors? We'll be answering this in this article. We'll discuss it's types. So, stay tuned.
What are selectors?
A CSS selector is the first part of a CSS rule. It's a pattern of elements & other terms that tell the browser which HTML elements should be selected to have the CSS properties the rule applied to them.
In simple words, CSS selectors are used to select the content you want to style.
So, We use CSS selectors to select HTML elements like Id, class, type, attribute etc.
We'll be covering the types of CSS selectors which are mentioned below:
Basic Selectors
Combination Selectors
Pseudo Class
Pseudo Elements
I'll be using this HTML code as the example.
<!DOCTYPE html>
<html lang="en">
  <head>
    <meta charset="UTF-8" />
    <meta http-equiv="X-UA-Compatible" content="IE=edge" />
    <meta name="viewport" content="width=device-width, initial-scale=1.0" />
    <title>Document</title>
    <style></style>
  </head>
  <body>
    <div>This is a div.</div>
    <span>This is a span</span>
    <ul>
      <li class="bgRed">item 1</li>
      <li id="bgRed">item 2</li>
      <li>item 3</li>
      <li>item 4</li>
      <li>item 5</li>
    </ul>
   </body>
</html>
I'll keep changing values in the style tag according to the type of selectors below and I'll paste the outputs of the following codes. so, kindly refer to this code for the whole article.
Basic Selectors
We'll start with the basic types of selectors first. They are of four types:
- Universal Selector
- Type Selector
- Class Selector
- Id Selector
1. Universal Selector
The universal selector selects the every element which is present in the HTML page. It is used as a wildcard character.
Syntax: * { --CSS styles-- }
for example:
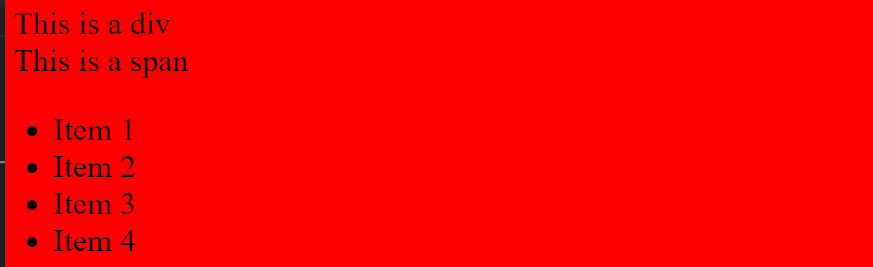
<style>
    * {
          background-color: red;
       }
</style>
Then, it would change the background color of the page to red.
2. Type Selector
The type selectors selects only the specific type of elements in the HTML. It can select the multiple elements in single HTML page.
It's used to minimize code. Comma's are used to separate each selector in grouping.
Syntax: div, h1, p { --CSS styles-- }
for example:
<style>
       div, span, li{
             background-color - green;
       }
</style>
Then, It would change the background color of every div, span and li tags in the HTML page.
3. Class Selector
The class selector selects elements with a specific class attribute.
To select elements with a specific class. Write a period (.) character followed by the name of the class.
This selector is used when the developer wants to effects the certain elements which carries the specific class.
Syntax: .class_name { --CSS styles-- }
for example:
<style>
      .bgRed{
            background-color: red;
      }
</style>
It'll turn the background color of li with attribute class= "bgRed" to red color.
4. Id selector
The Id selector selects the only element which has specific Id to it. Unlike class which can select the multiple elements.
In HTML, An element can be assigned a unique id which can't be assigned to any other element.
Syntax: #Id_name : { --CSS style-- }
for example:
<style>
      #bgRed{
            background-color: red;
      }
</style>
It'll change the background color of the div with attribute id="bgRed" to the color red.
Combination Selectors
A combination selector is something that explains the relationship between two selectors.
following types of selectors will be discussed in this article:
- Descendant selector
- Direct Child selector
- General Sibling selector
- Adjacent Sibling selector
- Or selector
- And selector
1. Descendant Selector
The descendent selector- typically represented by a single space " ".
It combines two selectors such that elements matched by the second selector are selected. If they have an ancestor (parent, parent's parent, parent's parent's parent, etc.) element matching the first selector.
In simple words, This selector selects all the elements of the specified tag.
The tags can be the direct or indirect children of the specified tag.
Syntax: div a { --CSS styles-- }
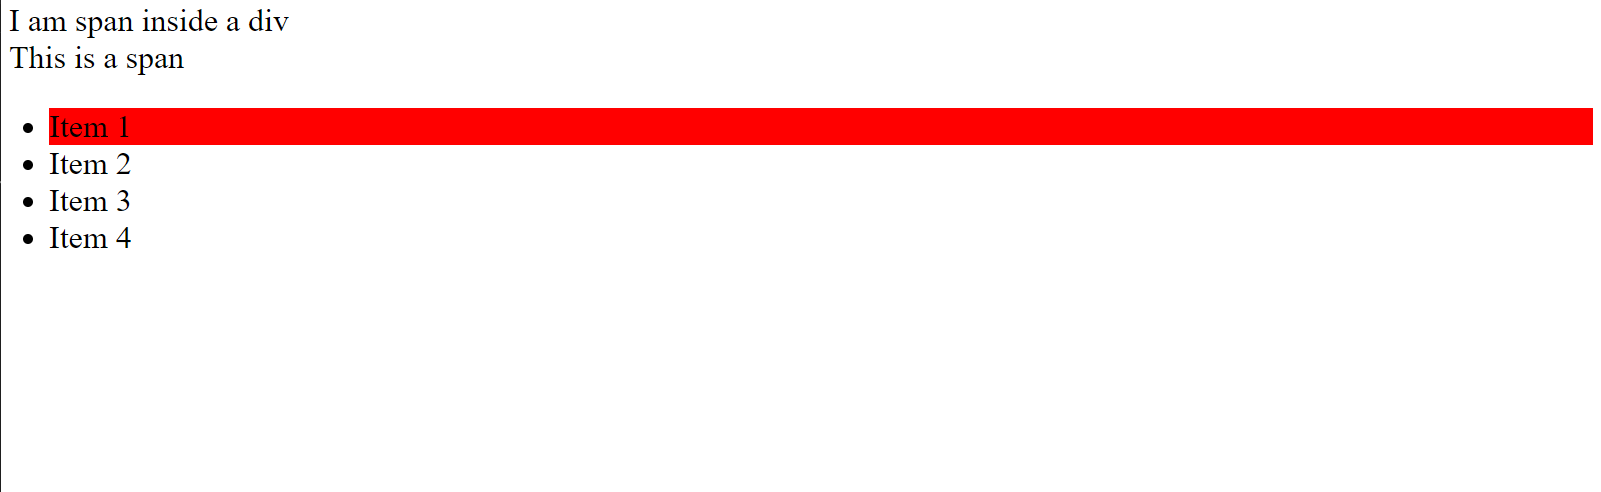
for example: if I want to change the color of list item with class bgRed which is the child of ul.
<style>
        ul li.bgRed {
              background-color: red;
        }
</style>
This will turn the background color of the list items which are inside the div.

2. Direct Selector
The Direct child selector selects the immediate element which is the immediate child of the specified.
Simply, child selector selects elements that are direct children of the first elements.
Syntax: div > a { --CSS styles-- }
for ex. I will perform the same thing as the above example but don't misunderstand it as the many ways of doing the same thing but it ain't. I am trying to make it as easy to understand as I could. So, if you use direct child selector, there's a catch, It'll select the direct child of the element. here's our mentioned element is ul the child is li. So, the output will be same.
    <style>
           div > p{
                background-color: red;
            }
    </style>
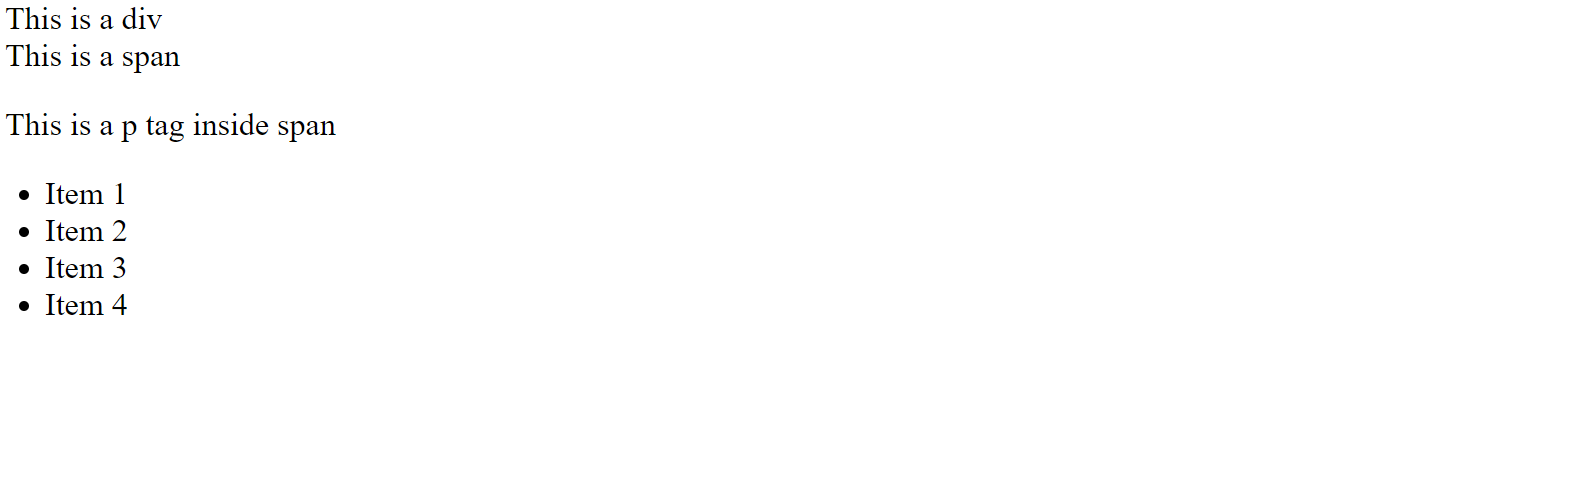
for this example, let's add an another div in our HTML code and add a span as it child and add a p tag as its child. Refer to this code below. As it'll always select the direct child i its hierarchy.
<div>
      <Span>
            <p>This is a p tag inside span</p>
        </span>
</div>
Let's run the code as you can see.....nothing happens. why? because p isn't the direct child of that div.
3. General Sibling
The general sibling selector selects the element that follows the first selector element and also share the same parent as the first selector element.
This is used to select all elements that share the same parent.
Syntax : div ~ a { --CSS styles-- }
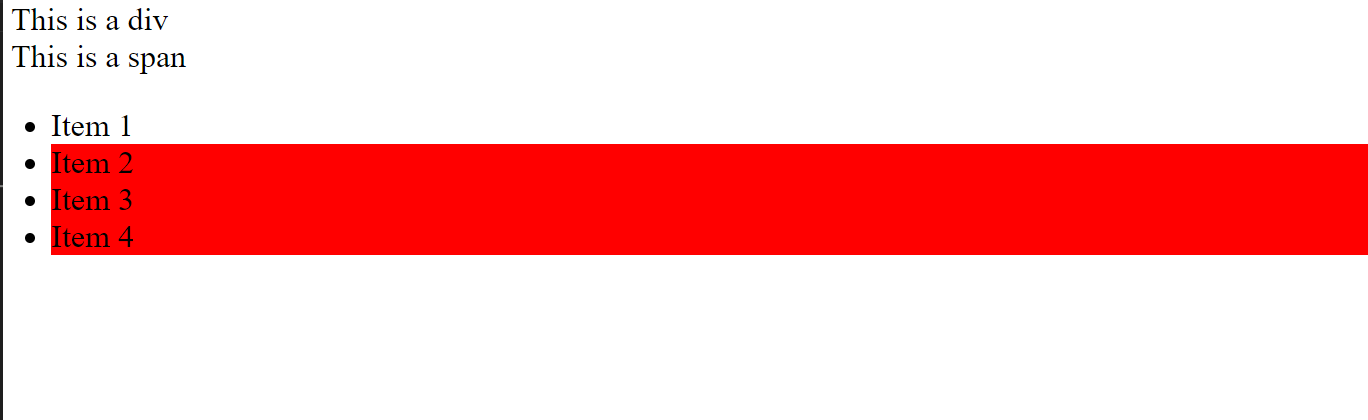
for ex. If I want to select all the elements except the mentioned one. Then, I'll use this general sibling selector.
<style>
        li.bgRed ~ li{
             background-color: red;
       }
</style>
As you can see here, it changed the bg color of the of the elements except the mentioned one. And here mentioned element is, you've guessed it. it's li with class bgRed. Bingo!
4. Adjacent Sibling
The Adjacent Sibling is used to select the elements that is adjacent or next to the tag which is specified.
In layman terms, It selects only one tag that is next to the specified tag.
Syntax: div + a { --CSS styles-- }
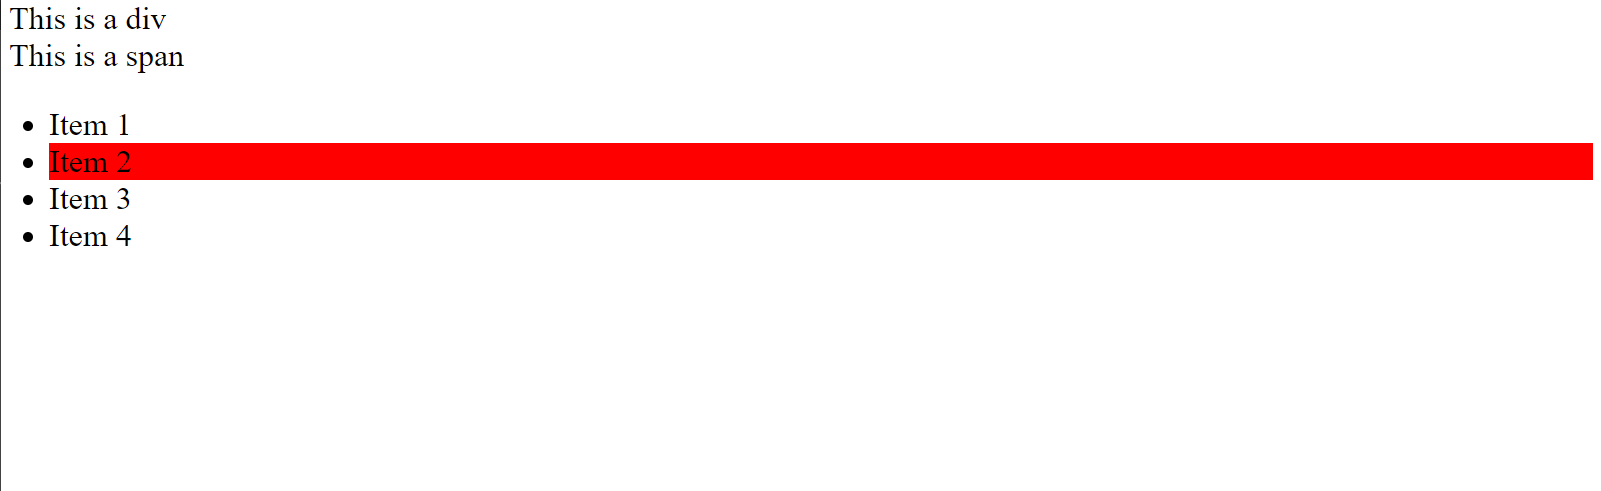
for ex. Now, If you want to select the only element that is adjacent of li element which has bgRed class.
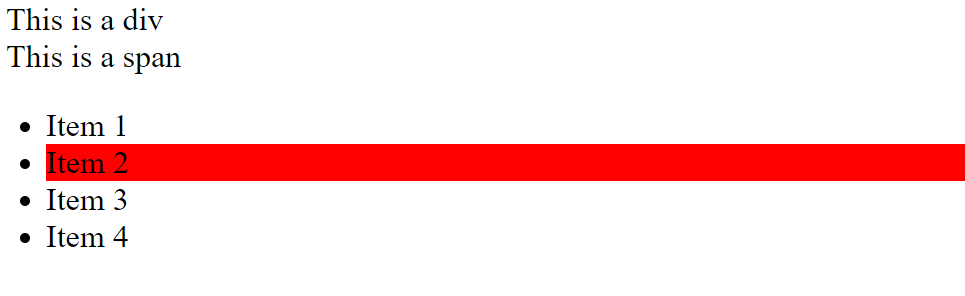
<style>
       li.bgRed + li{
             background-color: red;
      }
</style>
As, you see here item 2 has red bg color.
5. Or Selector
This selector simply selects elements which match any selector in the list.
Syntax: div, a : { --CSS styles-- }
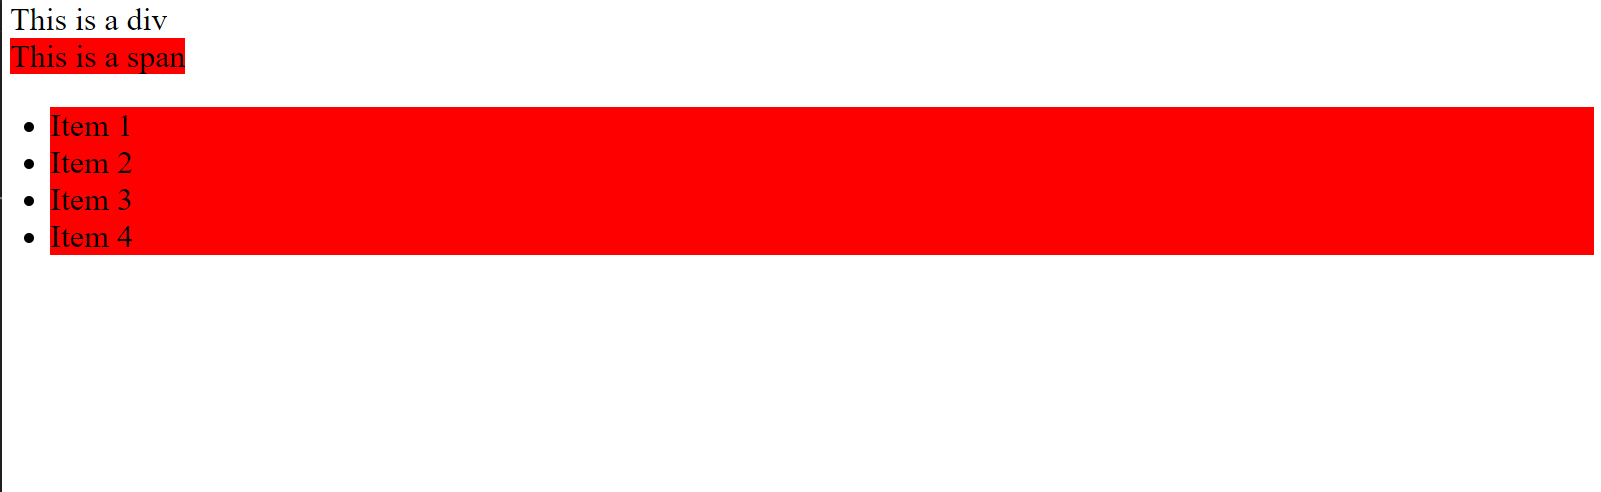
for ex. well, its the most simplest selector in CSS. If you write style mentioned below in code box.
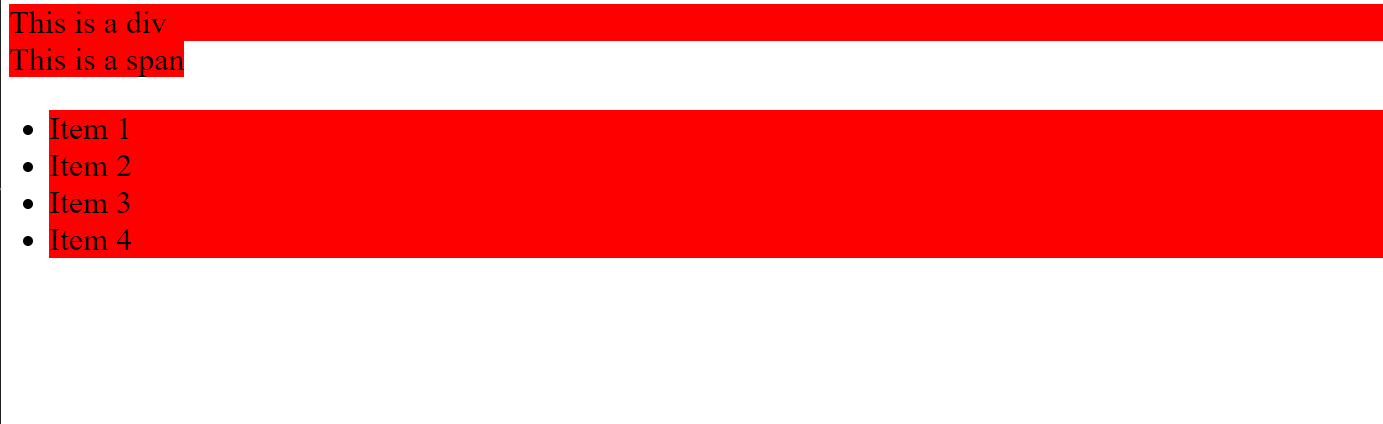
<style>
       span, li{
             background-color: red;
      }
</style>
It would select all the span & li elements in the page below. It helps greatly in reducing code. If you want to apply same kind of styles to a group of elements you can use this selector.
6. And Selector
This selector selects all the elements that match all the selector combinations.
Syntax: div.c { --CSS Styles-- }
for ex. If you want select all the li elements with class="bgRed". Then, this selector is for you.
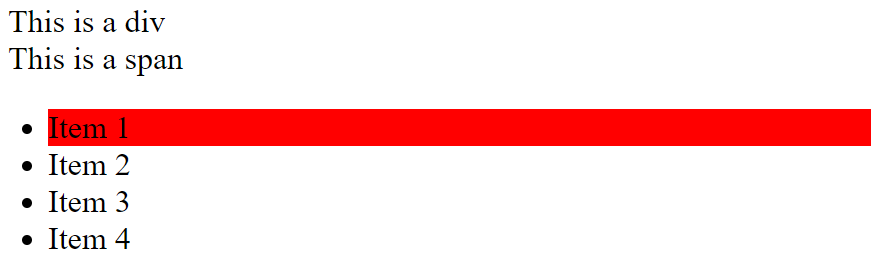
<style>
       li.bgRed{
             background-color: red;
      }
</style>
It will select all li element which has bgRed class. I know, we have only one element. but it's fine as long as you get what I am trying to explain.
here, we've covered the combinator selectors.
Pseudo Class
A Pseudo class in CSS is used to define the special state of an element. It can be combined with a CSS selector to add an effect to existing elements based on their states.
There are many pseudo classes in CSS & we are covering them in brief.
1. hover
It decides that how element should behave when the mouse pointer or cursor is hovering over it.
Syntax : div:hover{ --CSS style-- }
for ex. If I want to change bg color of a list item.
<style>
      li:hover{
           background-color: red;
      }
</style>
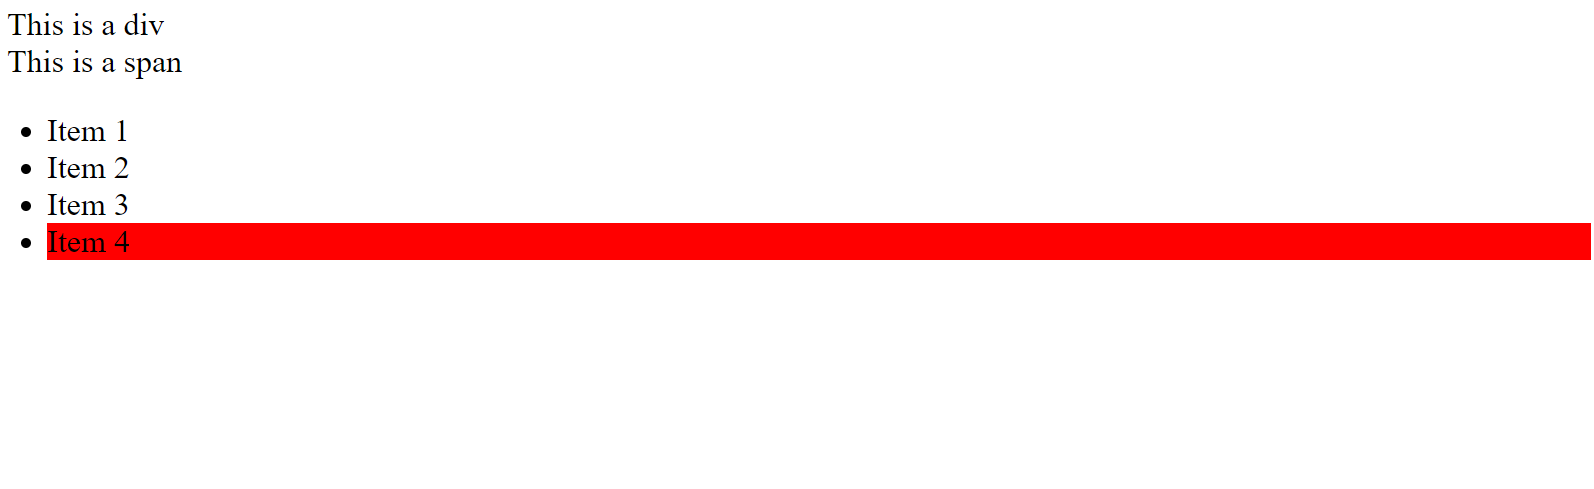
Like here you can see that i am hovering my mouse cursor over the li item 4 & you can see its bg color changing.
2. Focus
It selects the elements that are focused.
Syntax: input :focused { --CSS styles-- }
for ex. if I want to change the background color of the input form on clicking.
<styles>
    input :focus{
          background: red;
    }
</styles>
Now, define a input field anywhere in the provided code & I want you to try this on your own. Copy the style provided in example & paste it in the style tag of the code. You could do it for all the examples.
Well, There are many classes in the pseudo classes. I'll write a separate article for the pseudo classes, if you mention it in the comments.
Then, we'll head straight towards pseudo elements.
Pseudo Elements
Well, There are two types of elements in pseudo elements:
1. Before
2. After
Let's keep this simple for understanding now. If you want me to go in detail, mention it in the comment section. I'll cover pseudo elements in details. So, let's move forward.
1. Before Element
It simply adds an element before the mentioned element.
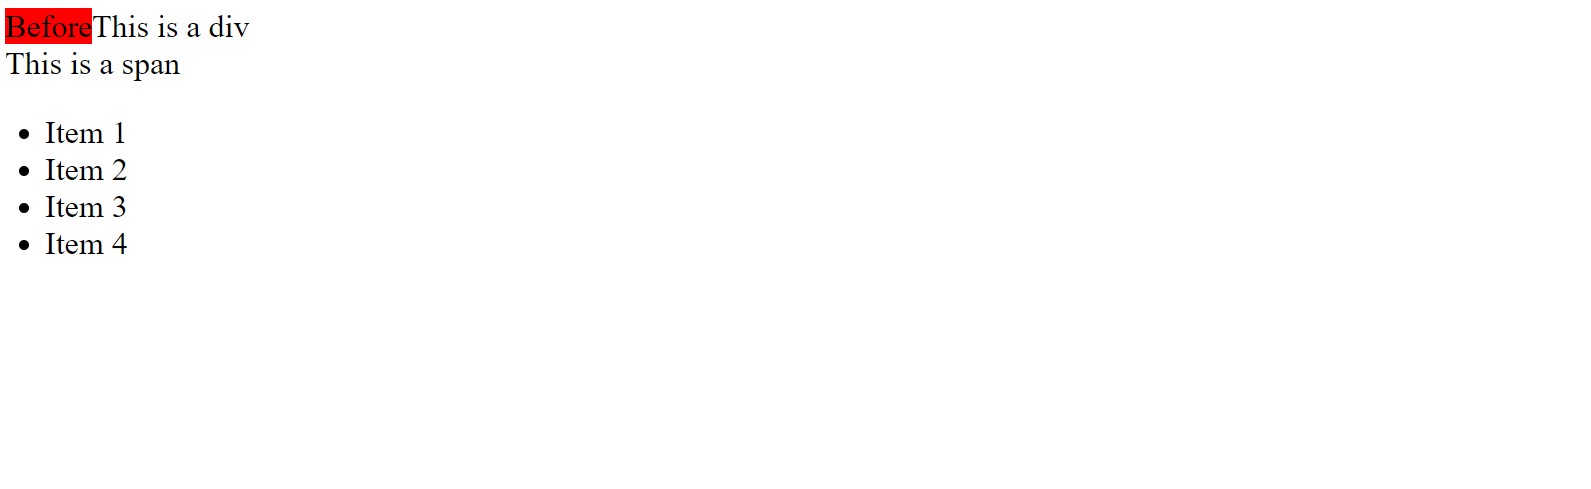
for ex. If I want to add an element before the div. For this, I'll assign a class to our one & only div element in our HTML page. And I'll name the class onlyDiv. so it'll look like <div class="onlyDiv">This is a div</div>
<styles>
     div.onlyDiv ::before{
          content : 'Before';
          background-color: red;
      }
</styles>
Here, you can see that there's before is added before div
2. After Element
It does the same job of adding elements as before element but it add the element after the mentioned elements.
It adds the element after the mentioned element.
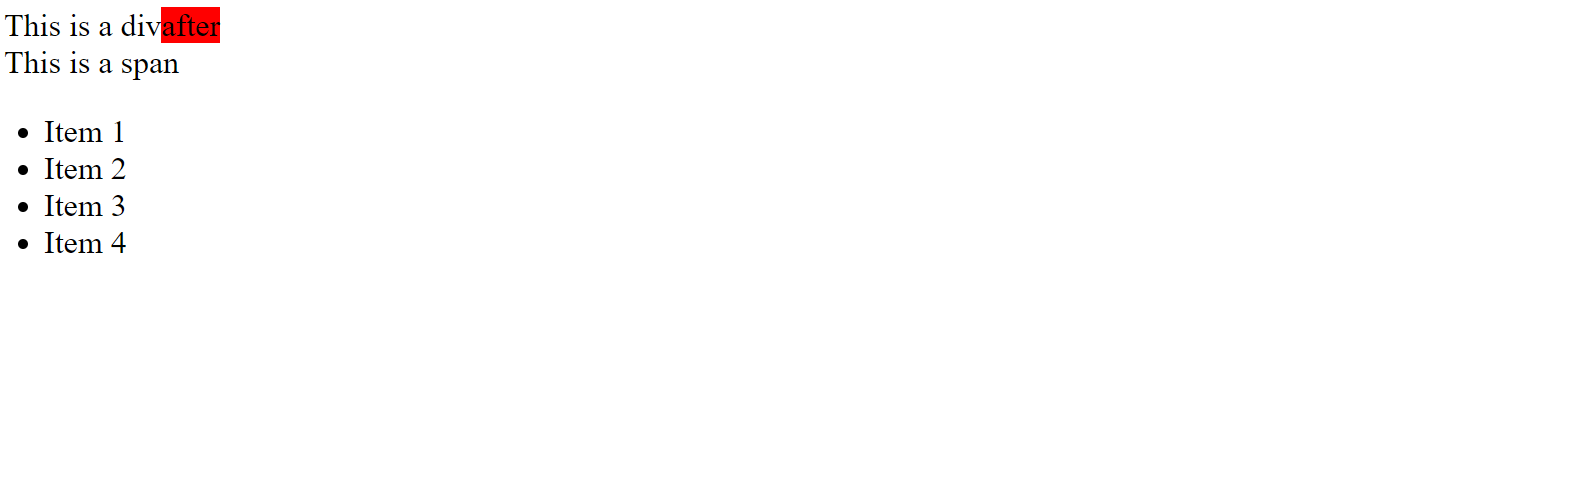
for ex. If I want to add the element after the div element.
<styles>
     div.red ::after{
          content : 'After';
          background-color: red;
      }
</styles>
Here, we've added an element after an element. as you can see below.
Well, Thank you for reading the complete article.


